


These are roller gauges for T-gauge track (3.2mm). I printed them in White Soft and Flexible (Left), Clear Acryllic (Middle) and Metal (Right). The metal gauge needs to have some left over casting material cleaned from the rail gaps, but all three gauges fit nicely on the T-gauge tracks I have. Which means, I now have a tool to lay T-gauge, Zn2, and Nn18 (or Nn2) track by hand. The metal gauge is obviously the best for handlaying, but the others are cheaper and may work well as long as they are not near the soldering iron.
Using a similar design, I also produced roller gauges for Z-scale track (6.5mm).

They are shown here on MT track, and they also work well on the new Atlas Z-scale Flextrack. I haven't tried them on Peco, Rokuhan or Marklin yet, but those will be tested before I release the gauges. You can see that I cleaned out the metal gauge's grooves. My preference is the metal and clear acryllic gauges. The White Strong and Flexible Gauge works, but doesn't have the same precision as the others.
In addition to the gauges, I also printed a new version of my T-gauge Station in Frosted Extreme Detail. The version comes with several spurs of detail parts.

I went for gusto on this print. Here are some closeups of the station.

The model includes interior fireplaces, walls with doorways, and stairs.

Yes, stairs. See them in the center of the photo? Or how about this view.

And yes, they are scale sized. But that is not all. On one of the spurs are the roof pieces and the chimney caps. Plus, there are windows and doors for the model.

The other spur contains furniture for the station. Yes, T-scale (1:450) furniture.
There is a fishbelly stove, tables, benches, chairs, a bed, desk, a cabinet and a bar. Can't see them?

The desks are on the left, then the bed, the round tables are on their sides, followed by a "J" shaped bar and the station waiting room benches. They got a bestine bath and cleaning last night, and next up will be a bit of primer before I start assembly. I'm excited for the finished product. Just need to do the decals for the exterior details.
Another building item was a set of doors for my modular wall system. I got the first two prototypes yesterday. They are already for sale, but this is the first time I have had them in my hands.

On the left is a standard sized door, on the right is a panel roll-up door. The standard door even has a door knob. The paperclip is pointing toward it. Need to zoom in?

Okay, I am at the limits of my camera's ability to focus, but you may just be able to make out the door knob here - the small blob of white on the left side of the door. You will notice that I made the door frame integral to the door in order to print this.
After their cleaning, I did try the doors in the walls I have already printed. Note that they are not yet painted, but here is what they look like.


They fit like a glove, and it looks like the design works well. So, that is encouraging. Next up in this project is an improved modular wall design. I am hoping to reduce the costs a bit, and provide for a number of brick types and bond configurations.
 |
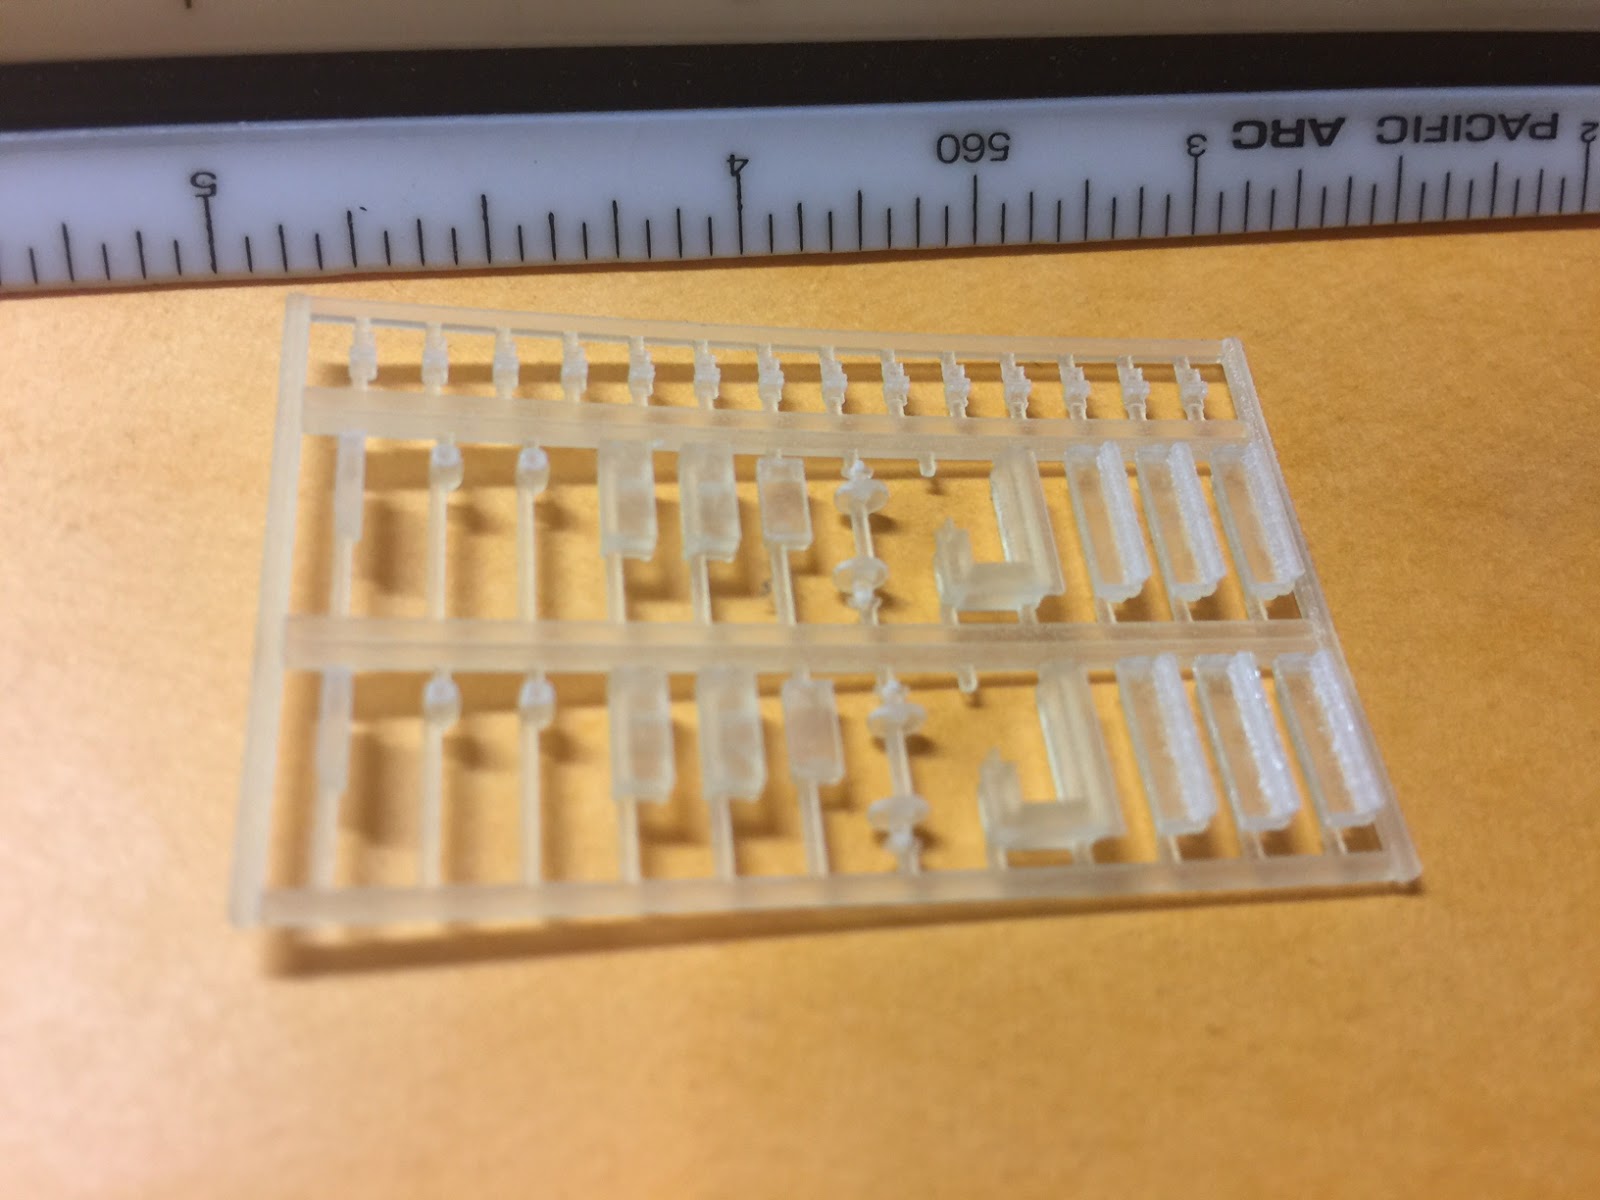
| Gilpin Ore Car Parts |
I tried printing the car a number of different ways. I tried the metallic plastic (top), followed by the White Strong and Flexible Nylon, a Polished Nylon, and as a Frosted Ultra Detail part.
These cars used link and pin couplers, and I also designed a set of them for this car, and printed them in Frosted Ultra Detail (top), Black Nylon, and Elastoplastic.
Finally, the cars also had brake wheels, which are of a geometry that I cold not find already available. This was surprising, since the drawings for the cars call out a different wheel style, but I found two photographs that clearly indicate that the brake wheels looked like those I printed. My best guess is that like the Link and Pin couplers, which were manufactured for the Gilpin Gold Tram by the Colorado and Southern shops, so too were these brake wheels.
The couplers were eyeopening. A close examination of the couplers revealed that the elastoplastic couplers lost a lot of detail, and in fact, do not fit in the existing coupler pocket. They are elastic alright, much more so than I needed. The tolerances on the Black Nylon couplers are better, but still don't fit in the pocket. Unfortunately, the spring features designed into these couplers did not print well either in Black Nylon. They are just too fine. (I thought so going in, but gave it a try. Fortunately, the Frosted Ultra Detail couplers did print well, and with enough resolution to both fit the couple pocket and hold the spring detail. Upon testing the springs (arranged as cantilever beams) even work as designed.


The coupler is designed to use a piece of wire (such as that of a paperclip) as both the link and pin. The U-shaped link-pin simply goes through the hole in the top of the coupler. So, the coupler will ultimately transfer all of the weight of the train to the body of the car. Hopefully, the Frosted Ultra Detail plastic is strong enough for the trains I envision. Worst case, there actually will be broken couplers.

The cars are tiny - a little more than 2 inches long, but they also measure out to within +/- 1 inch of the actual length of the car. They also feature bolts and rivet details. But these are not really visible unless printed in Frosted Ultra Detail. With couplers the car looks like this:

And as an example, I used a paper clip to test the coupler hole size.

I haven't installed trucks yet, or a few other details, including the brake stem. The brake wheels look really good in closeup views.

The outer ring is actually part of the support structure. The brake wheel is actually composed of an HO-scale 1-inch diameter round bar. I may actually make these thicker given that I do not have an actual dimension on the size of the bar used, just to make these a little easier to handle.
All of these parts have had a bestine bath and ultrasonic cleaning. Today, I temporarily but a set of trucks on one car (the wrong type, but at least it was a set of trucks), and made a first attempt at a link-pin from a paperclip. Grabbing a piece of the new Atlas Z-scale flex track, here is the prototype on the rails for the first time.

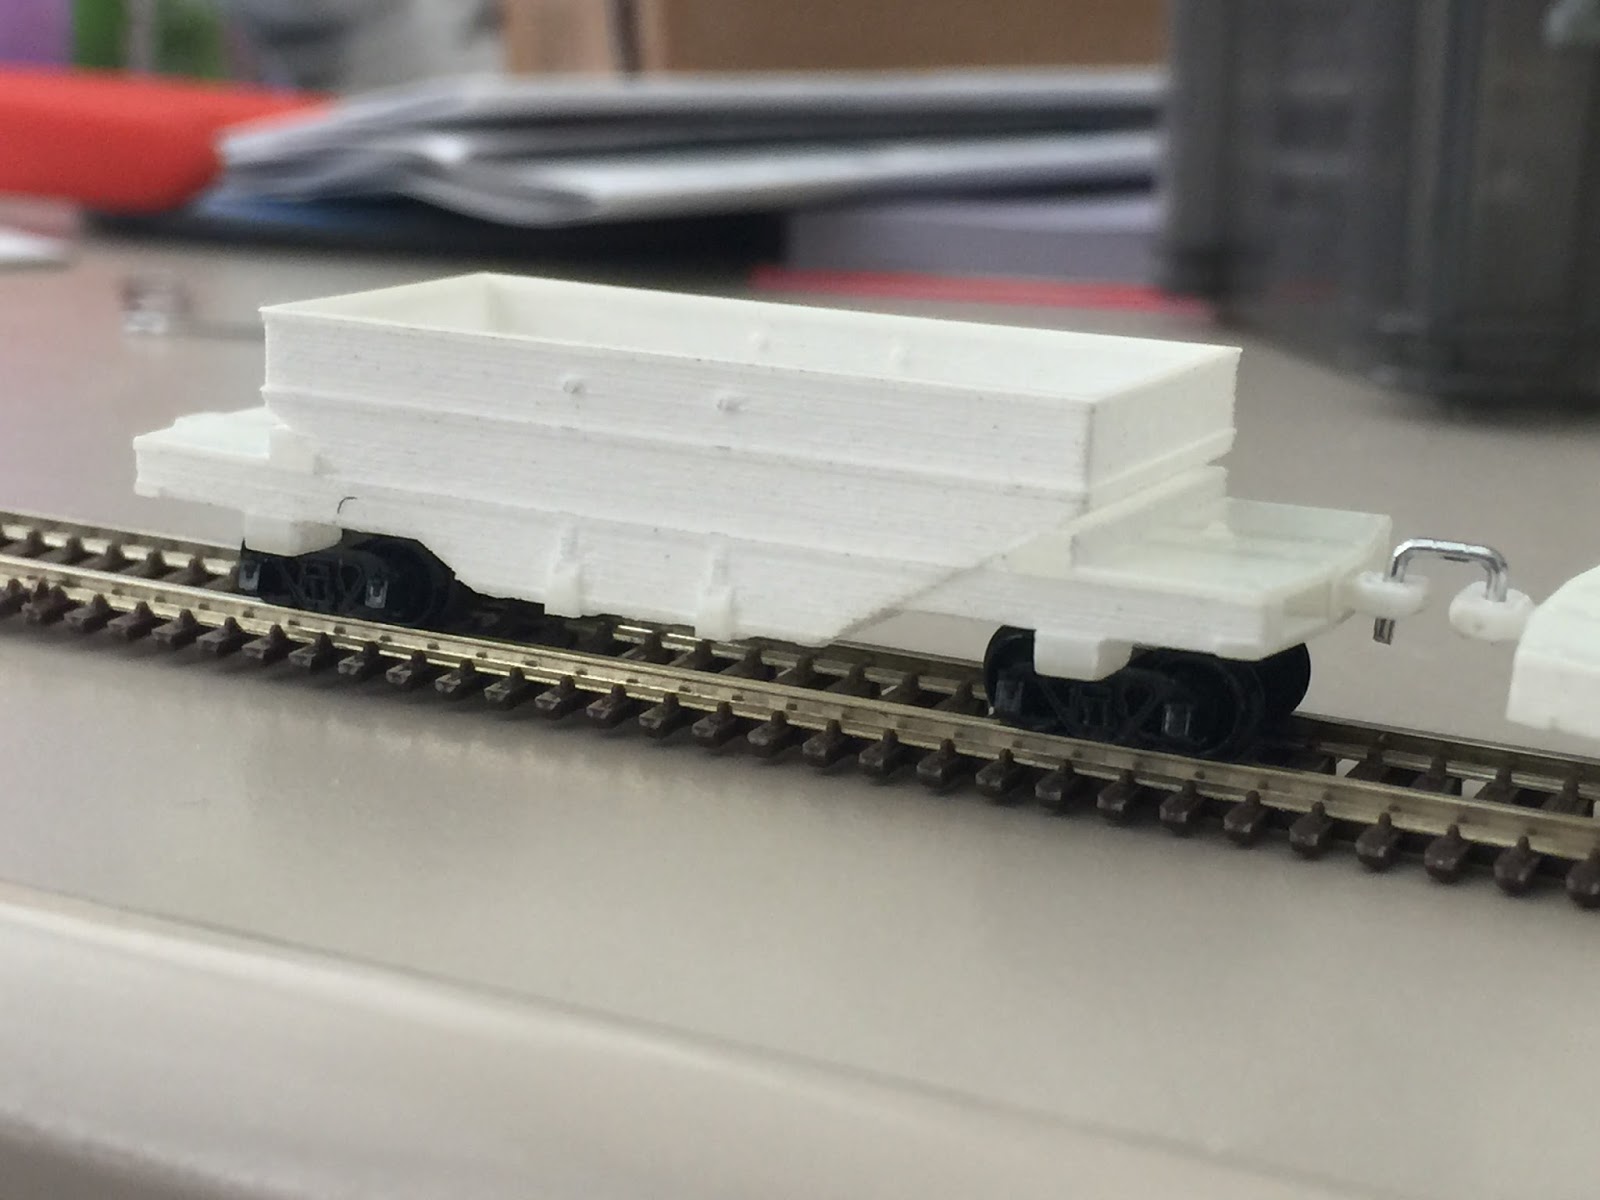
Once I have the proper trucks, I need to check a few clearances, but I am very encouraged. I probably need one more iteration and I will have a great model. Now I need an engine.